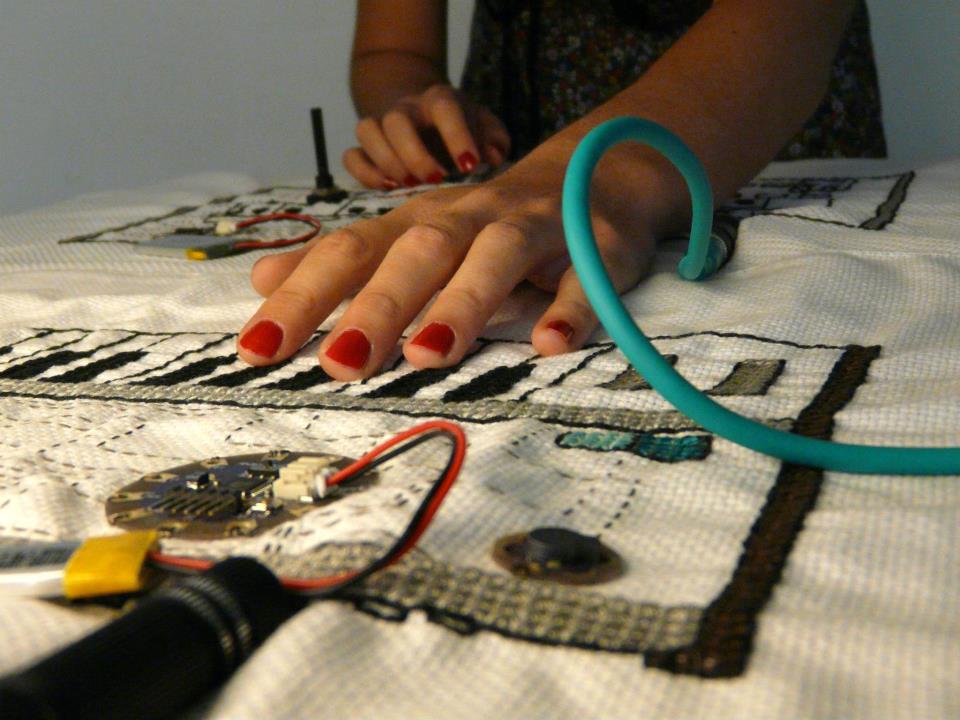
The work of Afroditi Psarra includes experimentation with embroidery, soft circuit and diy electronics. I got in touch with her after discovering she was holding a workshop in Barcelona around sound performances using Lilypad Arduino along with a really cool embroidered synthesizer (…and also submitting her project to Maker Faire Rome !).
Even if her background is in fine arts, as a little girl she got interested in creative ways of expression: on one side she was lucky enough to have all sorts of after-school activities that included painting, theater games and learning but also how to program using LOGO and QBasic. That was in the days of black-and-white terminals and MS-DOS commands:
I still remember the excitement of not knowing what to expect at the opposite side of the screen. So for me, technology has always been a major part of my life.
Below you can find my questions to her:
Zoe Romano: In which way you started mixing art, technology and craft?
Afroditi Psarra: I had the chance to spend a year in Madrid as an ERASMUS student and there I encountered the work that was done at the Medialab Padro and had my first physical media art experience at the ”The making of Balkan Wars: The Game” exhibition. Two years later I went back to Madrid to do a post-graduate course on Image, Technology and Design and there I got familiar with Processing. I started working on interactive applets, but after some time I felt like I was missing the manual, hands-on labour of creating, so while I was coding I was also working on simple embroideries oriented around women and technology. These embroidery skills were passed on to me by my grandmother who taught me everything about knitting.
How did you get to know Arduino?
At the various media art workshops that I attended at the Medialab-Prado I was always hearing about Arduino, but for me electronics was something totally unknown and was always connected to robotics and automation processes. About two years ago a friend and very talented media-artist, Maria Varela, who was studying in London told me that she had attended a LilyPad Arduino workshop and that this was an Arduino implementation designed to be used with conductive threads instead of wires.
I was really excited by the idea that this would allow me to combine my work in embroidery with coding, so I bought myself a kit and started to experiment with some basic examples and tutorials I found in Instructables and started to follow the work of Hannah Perner-Wilson (Plusea, Kobakant), Lynne Bruning and Becky Stern. At the time I was still living in Madrid so me and another girl from Medialab, Francesca Mereu, formed a small group called SmartcraftLab and posted our experiments on-line.
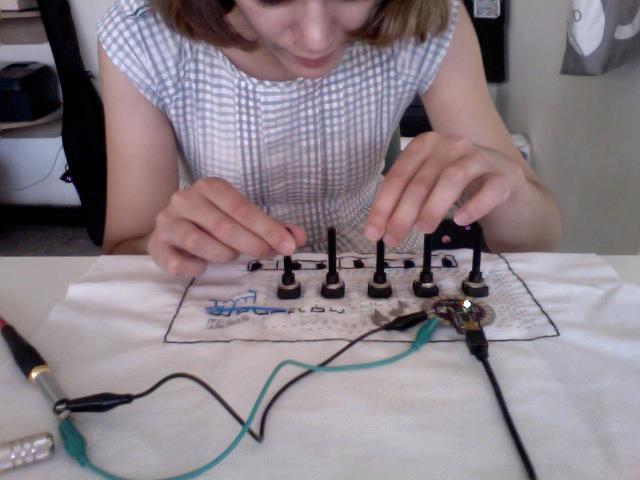
I remember that one of my first experiments was using the conductive thread as a pressure sensor that created tones, and when I heard that primitive digital sound I instantly felt that it was something that I wished to explore further. I think that this interest in physical computing, e-textiles and sound brought all of the things that I was working on earlier together, and the Arduino allowed me to do that.
As for the production of my projects, it is always done by me, but often look to the Arduino community for solutions to problems that I may encounter and ask for other people’s help on hardware and software issues. I do not see myself as a very skilled programmer just yet, but I certainly am evolving. After all, I believe that workshops, hands-on experience and collaborations with other people are the things that allow you to grow as a Maker.
A couple of years ago Paola Antonelli, senior curator in the Department of Architecture and Design at the Museum of Modern Art, said “The two most important introductions for art in the past 20 years have been the Arduino and Processing”, how do you see it?
I totally agree with the quote. Processing and Arduino are the two things that have allowed artists with no previous background in computing and electronics work with tools that where only available to specialists before. These two languages have created a tendency towards interactive art and we are now experiencing a revolution in DIY digital fabrication, hacking and tinkering on so many different levels. I think that the increasing spread of Medialabs, Hackerspaces and Fab labs around the world is the living proof of that.
In which ways are you experimenting with the Lilypad?
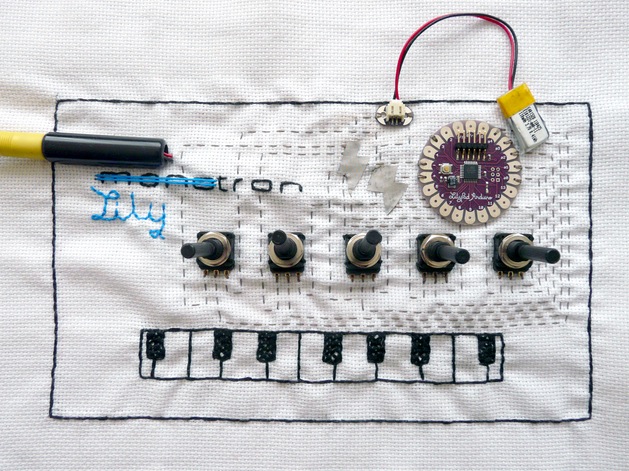
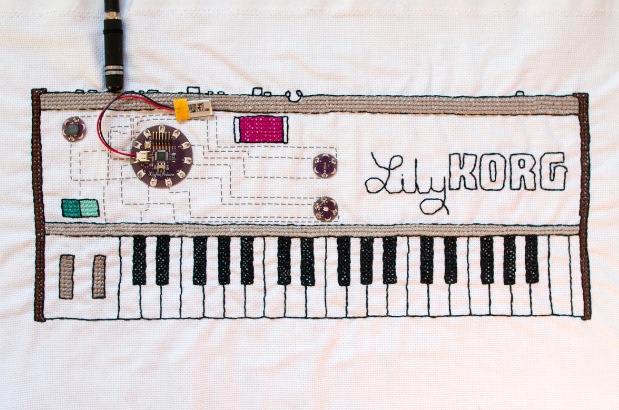
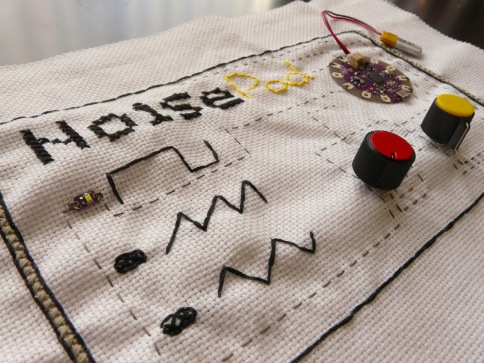
The LilyPad has allowed me to explore the relation between crafts connected with women’s labour such as knitting, sewing and embroidery, with electronics and creative coding, as well as the creation of soft interfaces of control. In my project Lilytronica I am currently using the LilyPad to create my own embroidered synthesizers that I use to perform live.
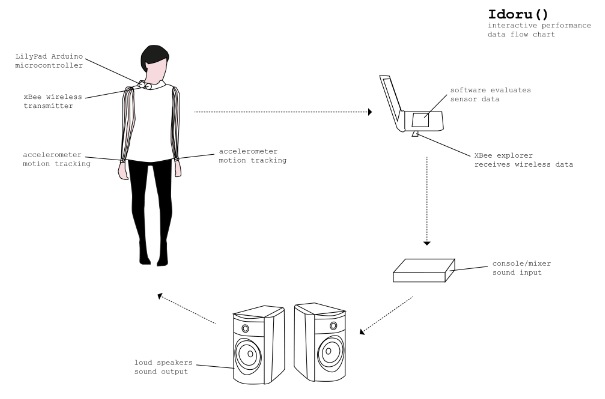
Considering that the LilyPad is not designed for creating sound, and you only have digital outputs and 8 MHz clock speed, the result is a very rough, primitive sound quality, which I personally like a lot. In my interactive performance Idoru() I am exploring the body as an interface of control of sound though the use of wearables. In this project the LilyPad acts as a controller, and the sound is produced in SuperCollider.
I am also participating in conferences around open source technologies and organizing workshops on e-textiles and the use of the LilyPad, because I want to transmit my passion and because I want to get more people involved in this exciting new artistic field.
Are you releasing your work in open source?
Ever since I started to work with the Arduino I try to publish my work on-line so that I can have feedback on everything and until now I have been releasing the code on my personal website, but I am thinking of creating a Github account and releasing the code there so that everything is easily accessed by anyone interested. I firmly believe in releasing one’s work in open source, because this way you can evolve your work more rapidly and share your creation process with other like-minded individuals.
Where do you see wearable computing most interesting developments going towards?
I think it is a bit early to tell. Technology evolves at a very fast pace and multinationals sometimes reject certain developments because of their lack of economic interest. Seeing all the fuss around the Google glasses, one would argue that wearable computing is heading to connect the physical body with the Internet of Things. I personally feel that we can certainly expect developments around wearables and locative media and various medical applications.
For now, the most interesting applications in wearables are around fashion, art and music, and they require a certain craftsmanship to be made. As Kobakant argue in their paper ”Future Master Craftsmanship: where we want electronic textile crafts to go“ we never know what can happen when industrial automation kicks in. When our skills become devalued because machines can produce work faster, cheaper and better, we will still enjoy the craft process. But instead of sitting back to become E-Textile grandmothers, perhaps competition from the automated machines will encourage us to move on.
Pictures courtesy of Afroditi Psarra
View the Original article


